Member Setup
The first thing you'll want to do when setting up your organization is adding employees. Your account comes with the first 3 members for free.
When you first create your organization, the default user is granted the role of Owner and Admin.
In order for new members to do anything useful within the app, they must be assigned a role.
Onboarding members
In order for members to get access to your organization, you will need to add their email to their member profile.
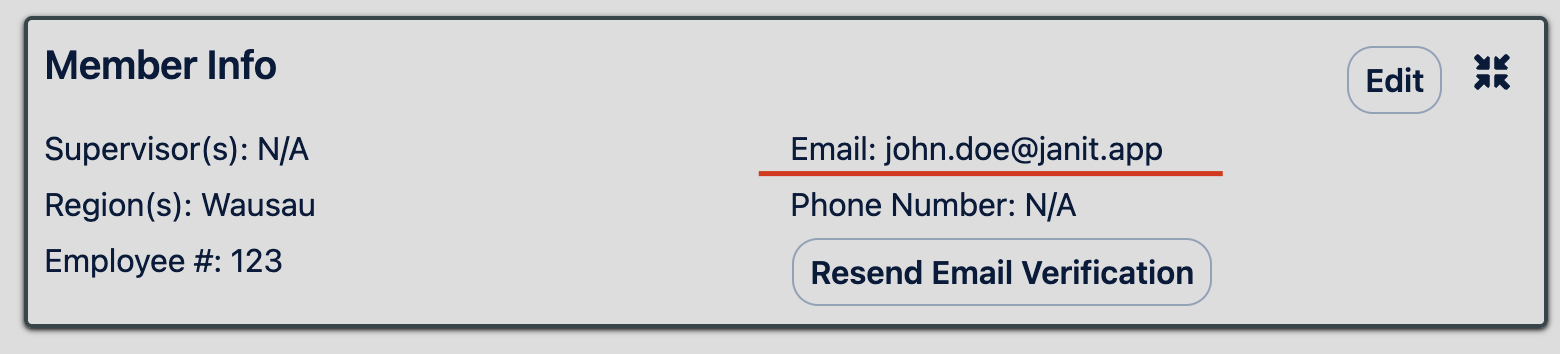
An invitation will be immediately sent to the email address.
Once the email account is activated, it cannot be changed.
Role Types
The roles listed below are ordered by increasing privileges.
Member
A member gets read-only access to the application. They can view clients and the jobs that each client has.
Employee
An employee gets the ability to work jobs through phone calls and the mobile app.
If you want to assign an employee to a job, they must first be granted this role.
Supervisor
A supervisor is granted the ability to submit daily supervisor recaps. They can view work logs of all employees and supervisors.
Admin
An admin is granted access to manage members within the app.
Owner
An owner is given access to manage billing
| Permission | Employee | Supervisor | Admin | Owner |
|---|---|---|---|---|
| View Clients | X | X | X | X |
| Manage Clients | X | X | X | |
| View Members | X | X | X | X |
| Manage Members | X | X | ||
| Create Supervisor Recap | X | |||
| View Submitted Recap | X | X | ||
| Request Supplies | X | X | X | |
| View Consumable Requests | X | X | X | |
| View Payroll | X | X | ||
| Manage Holiday Calendar | X | X | ||
| Record Time By Phone Call | X | |||
| View Realtime Operations | X | X | X |
Assigning Roles
Navigate to the member search results page and select the member you would like to add a role to.
Click the Add Role button.
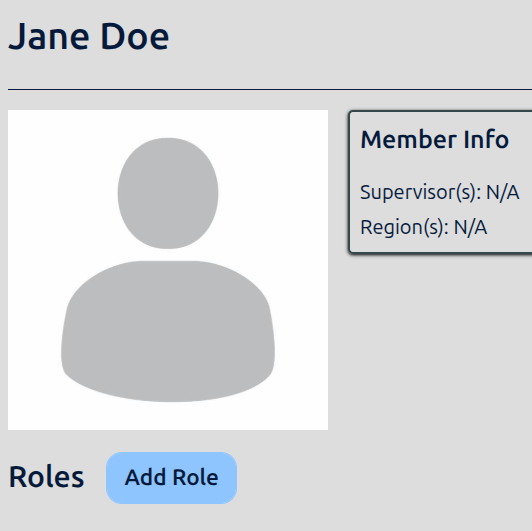
Follow the prompts to add the desired role.s